Control LEDs with Blynk
You want to turn on lights from your phone.
You don’t need a smart home system.
You just need an Arduino and Blynk.
This guide shows you how.
No fancy tools.
No expensive gear.
Just a few parts and free apps.
And yes — you can use Elegoo instead of Arduino.
It works the same.
And it costs way less.
What Is Blynk and Why Use It With Arduino?
Blynk is a free app that lets you control hardware from your phone.
You can turn on lights.
You can read sensors.
You can make your Arduino talk to your phone.
It works with Arduino Uno.
It also works with Elegoo Uno.
And even with Raspberry Pi.
But today, we focus on Arduino.
Why? Because it’s simple.
And perfect for beginners.
You don’t need Wi-Fi.
You just plug in a USB cable.
That’s it.
Blynk sends signals over USB.
Your Arduino listens.
Then it turns LEDs on or off.
What Parts Do You Need for This Project?
You need only five things.
And most of them are cheap.
Here’s your full list:
- Arduino Uno — or Elegoo Uno (same thing)
- 2 LEDs — one red, one yellow
- 2 resistors — 220Ω to 330Ω each
- Breadboard and jumper wires — for easy connections
- USB cable — to connect Arduino to your phone via computer
You don’t need Wi-Fi.
You don’t need Bluetooth.
You don’t need extra shields.
Just plug, code, and control.
And if you’re starting out?
Buy the Elegoo Super Starter Kit.
It has all these parts — plus 33 projects.
And it costs under $50.
👉 Get the Elegoo UNO Super Starter Kit
How to Wire the LEDs to Arduino Uno
Connect the short leg of each LED to GND.
That’s the negative side.
Connect the long leg to a resistor.
Then connect the other end of the resistor to a digital pin.
Use pin 13 for the red LED.
Use pin 12 for the yellow LED.
Why these pins?
Because Blynk uses virtual pins V0 and V1.
We map V0 → Pin 13.
We map V1 → Pin 12.
Simple.
Here’s how it looks:
| Arduino Pin | Component | Blynk Virtual Pin |
| 13 | Red LED | V0 |
| 12 | Yellow LED | V1 |
| GND | Both LED cathodes | – |
Double-check your wiring.
Wrong polarity burns LEDs.
Wrong resistor? LEDs glow too bright — or stay dark.
Use 220Ω if unsure.
It’s safe for both LEDs.
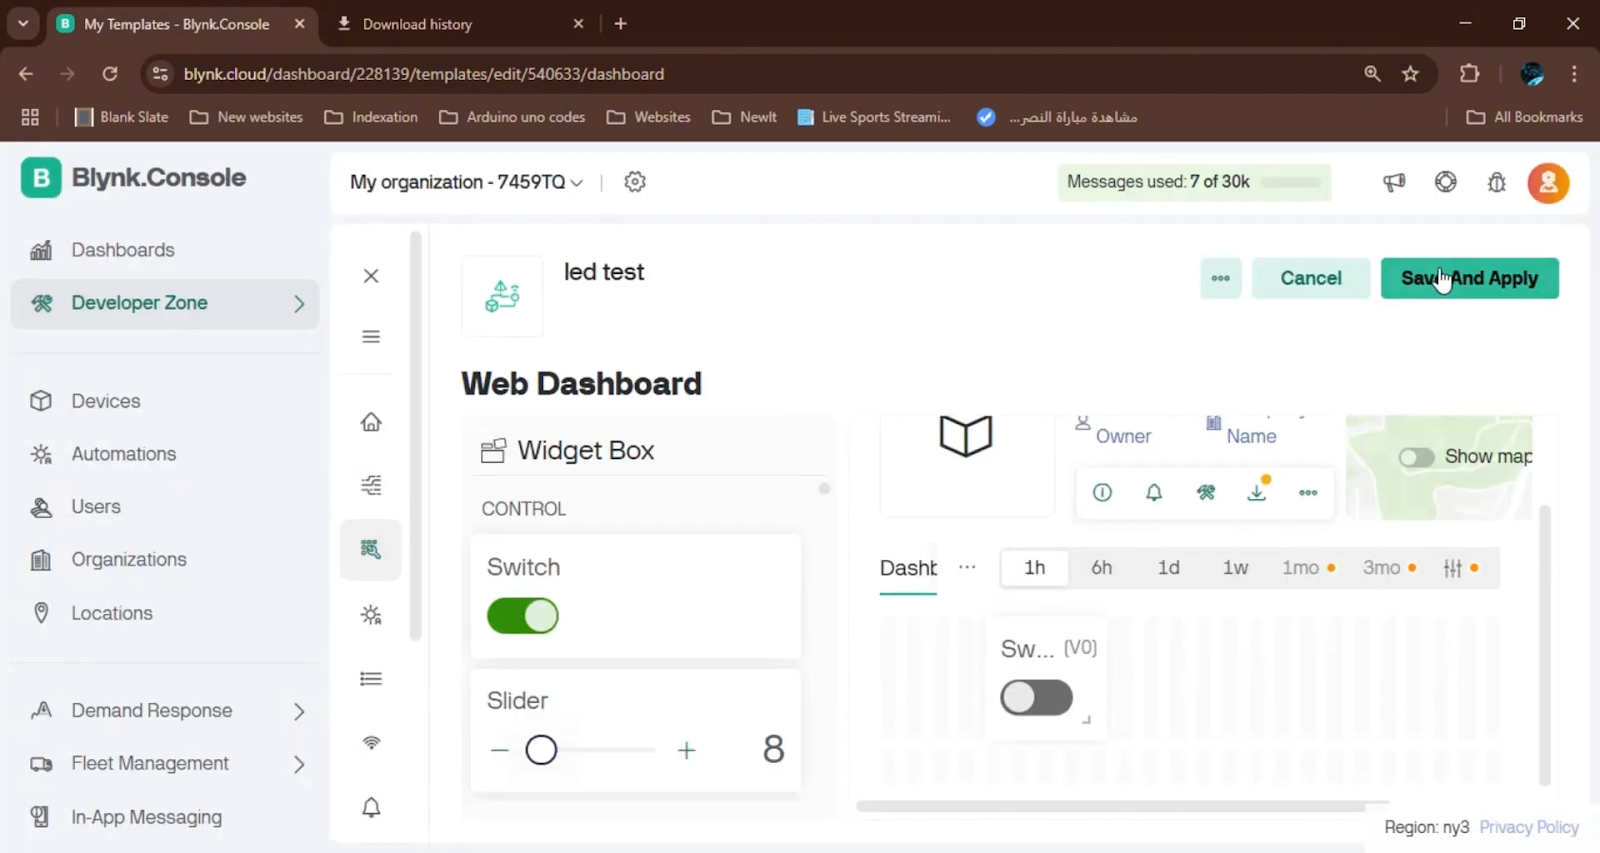
How to Set Up the Blynk App on Your Phone
Download Blynk from the App Store or Google Play.
Open the app.
Create a new project.
Name it “LED Control.”
Select “Arduino Uno” as your device.
Choose “USB” for connection type.
Click “Create.”
The app will send you an Auth Token.
Copy it.
You’ll need it in your code.
Now add two buttons.
Tap the “+” icon.
Add a Button widget.
Set it to Virtual Pin V0.
Label it “Red LED.”
Add another button.
Set it to Virtual Pin V1.
Label it “Yellow LED.”
Press “Play” in the top right.
Now your phone is ready.
Next, code the Arduino.
Arduino Code to Control Two LEDs via Blynk
#include <BlynkSimpleStream.h>

// Your Blynk Auth Token (paste your own from the app)
char auth[] = "YOUR_AUTH_TOKEN_HERE";

// Define LED pins
const int redLed = 13;
const int yellowLed = 12;

void setup() {
  // Start serial communication at 9600 baud
  Serial.begin(9600);

  // Start Blynk over Serial
  Blynk.begin(auth, Serial);

  // Set LED pins as outputs
  pinMode(redLed, OUTPUT);
  pinMode(yellowLed, OUTPUT);

  // Turn both LEDs off at startup
  digitalWrite(redLed, LOW);
  digitalWrite(yellowLed, LOW);
}

void loop() {
  // Keep Blynk running
  Blynk.run();
}

// When V0 button is pressed (Red LED)
BLYNK_WRITE(V0) {
  int buttonState = param.asInt();
  digitalWrite(redLed, buttonState);
}

// When V1 button is pressed (Yellow LED)
BLYNK_WRITE(V1) {
  int buttonState = param.asInt();
  digitalWrite(yellowLed, buttonState);
}
Replace YOUR_AUTH_TOKEN_HERE with the token from the Blynk app.
Don’t forget the quotes.
Upload the code to your Arduino.
Use the Arduino IDE.
It works with Elegoo boards too.
No extra drivers needed.
Just plug in the USB cable.
How the Code Works — Simple Breakdown
First, you load the Blynk library.
It lets Arduino talk to the app.
Then you add your Auth Token.
This is your secret key.
It links your phone to your board.
Next, you set pin modes.
Pin 13 becomes an output.
Pin 12 becomes an output.
At startup, both LEDs turn off.
Then the loop runs forever.
Blynk.run(); keeps the connection alive.
Now the magic happens.
When you press the Red LED button on your phone,
Blynk sends a signal to V0.
The code sees it.
Then it turns pin 13 HIGH or LOW.
The same thing happens for V1 and the yellow LED.
Each button press = one command.
No delay.
No lag.
It’s instant.
Testing Your Project Step by Step
Upload the code to your Arduino.
Open the Serial Monitor.
You should see “Connecting…”
Now open the Blynk app on your phone.
Tap the Play button.
Wait for the green dot.
It means you’re connected.
Tap the Red LED button.
The LED turns on.
Tap it again.
The LED turns off.
Do the same with the Yellow LED.
If it works?
You just built your first IoT project.
No Wi-Fi.
No cloud.
Just your phone and a USB cable.
That’s real power.
Elegoo vs Arduino: Which One Should You Use?
Arduino costs $25–$30.
Elegoo costs $8–$12.
Both use the same chip: ATmega328P.
Both work with the same code.
Both use the same USB chip: ATmega16U2.
That means no driver issues.
Plug in Elegoo.
It shows up as “Arduino Uno.”
Just like the real one.
So why pay more?
Unless you’re selling a product,
use Elegoo.
It’s cheaper.
It’s reliable.
It’s made for learners.
👉 Buy Elegoo UNO Super Starter Kit (includes board + parts)
Top 5 Must-Have Arduino/Elegoo Accessories
You’ll need these for more projects.
Here are the best picks:
- ELEGOO 37-in-1 Sensor Kit — 37 sensors for $15. Perfect for learning.
- 40 PCS Jumper Wires — Color-coded, 20cm long. No tangled mess.
- ELEGOO UNO R3 Smart Robot Car Kit — Build a remote control car in one day.
- ELEGOO MEGA R3 Board — 54 pins. For big robots and printers.
- CH340 USB-to-TTL Module — Use it to flash other boards without Arduino.
Buy the sensor kit first.
It teaches you how sensors work.
Then add jumper wires.
They make every project easier.
Why This Project Is Perfect for Beginners
You don’t need coding experience.
You don’t need electronics knowledge.
You just follow the steps.
Wiring? Easy.
Code? Copy and paste.
App? Download and tap.
And you get results.
Real results.
You control lights from your phone.
That feels like magic.
But it’s not magic.
It’s learning.
This project builds confidence.
After this, you’ll try temperature sensors.
Then motors.
Then Wi-Fi.
And one day — you’ll build something big.
Troubleshooting: What If It Doesn’t Work?
LED stays off?
Check the resistor.
Check the LED direction.
Is the cathode (short leg) connected to GND?
Serial monitor says “Connecting…” forever?
Did you select “USB” in Blynk?
Did you paste the right Auth Token?
Is the USB cable data-enabled?
Some cables only charge.
Try another cable.
Blynk app crashes?
Restart your phone.
Reinstall the app.
Still stuck?
Comment below.
We help you fix it.
Expand This Project: Ideas to Try Next
You’ve mastered LED control.
Now level up.
- Add a button to blink both LEDs at once.
- Use a slider to dim the LEDs. (Change BLYNK_WRITE to analog value.)
- Connect a light sensor. Turn on LED when room gets dark.
- Make a night light. Auto-on at sunset, auto-off at sunrise.
- Control it from two phones. Share your Blynk project with a friend.


Leave a Reply