
Are you stuck with a fatal simulation error in Proteus 8? Then don’t panic—this problem is easier to fix than you think. In fact, most fatal simulation errors happen because a component like an IR sensor is missing its HEX file. Moreover, Proteus needs this file to simulate the component’s behavior correctly. So, if your project crashes on startup, the solution is often just one file away.
This guide gives you a clear, step-by-step fix for fatal simulation errors in Proteus 8. You’ll learn why these errors happen, how to find the right HEX file, and exactly where to load it. Therefore, whether you’re simulating an IR sensor, a microcontroller, or another smart component, you’ll get your circuit running in minutes. Let’s solve this together!
What Causes Fatal Simulation Errors in Proteus 8?
A fatal simulation error in Proteus 8 usually means one thing: a required program file is missing. Specifically, components that “do something” on their own—like IR sensors, ultrasonic modules, or custom microcontrollers—need a HEX file to work in simulation.
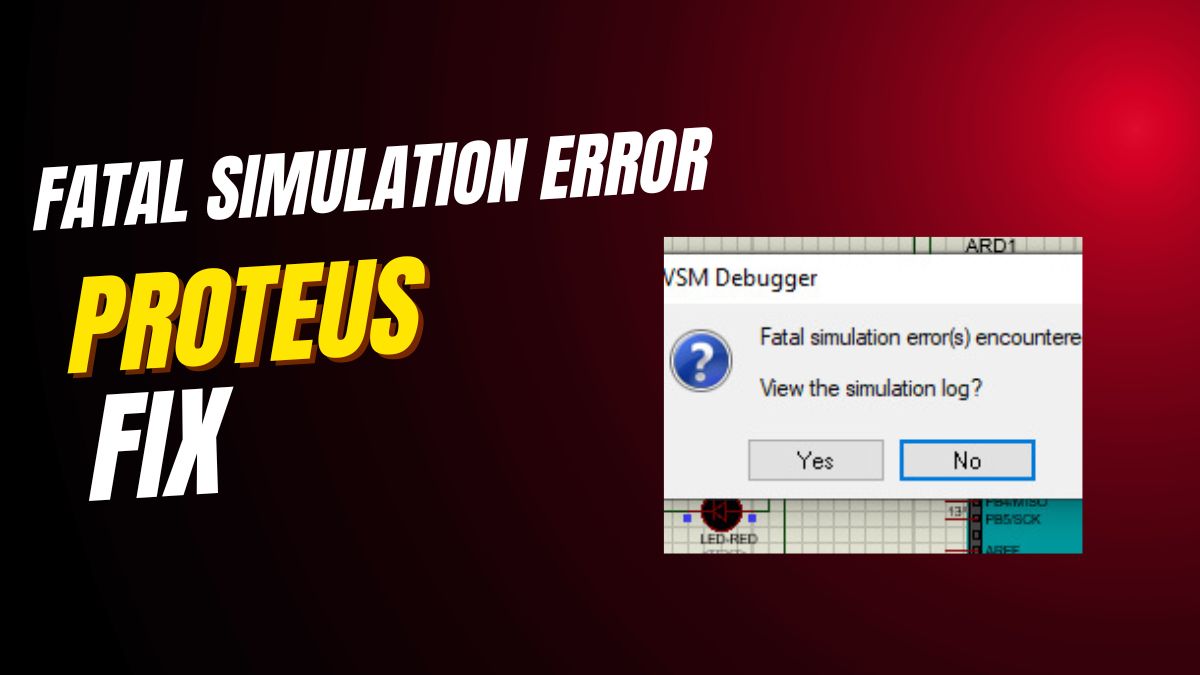
Without this HEX file, Proteus doesn’t know how the component should behave. As a result, the simulator stops with a fatal error. You might see messages like “Simulation FAILED due to unhandled exception” or “Component has no program file.”
Common triggers include: Adding an IR receiver without its logic file Using a simulated Arduino without uploading code Placing a smart sensor that requires internal firmware In all these cases, the fix is the same: provide the missing HEX file.
Why HEX Files Matter in Proteus Simulation
HEX files contain compiled code that tells a component what to do. For example, an IR sensor HEX file might include logic to detect remote signals and output a digital pulse. Proteus uses this file to mimic real-world behavior.
When you simulate a basic resistor or LED, no HEX file is needed—they’re passive. But active components need instructions. So, if your circuit includes anything “smart,” check for a HEX requirement first.
💡 Tip: Many Proteus libraries include sample HEX files. Always check the component’s documentation or download package for a .hex file before placing it in your schematic.
Step-by-Step Fix for Fatal Simulation Errors
Follow these simple steps to fix fatal simulation errors in Proteus 8. Start by identifying the problematic component—usually the one you just added before the error appeared.
First, download the correct HEX file for your component. For an IR sensor, search online for “IR sensor Proteus HEX file” or check the component’s official library. Make sure the file matches your exact model.
Next, open your Proteus project. Then, double-click the component (e.g., the IR sensor) to open its properties window. Look for a field labeled “Program File”, “Hex File”, or just “File”.
Click the browse button next to this field. Navigate to your downloaded HEX file and select it. Finally, click OK to save the changes. That’s it—your component now has the logic it needs to simulate correctly.
How to Load HEX Files in Proteus 8
Loading a HEX file in Proteus 8 is quick and visual. After double-clicking your component, the properties window appears. The “Program File” field is usually near the top or under a “Model” tab.
If you don’t see the field, your component might not support simulation—or you’re using a basic symbol instead of a simulated model. In that case, replace it with a simulation-ready version from the Proteus library.
Once you select the HEX file, Proteus links it to the component. During simulation, the file runs in the background, just like real firmware on a chip. As a result, your IR sensor will now respond to virtual remote signals, or your microcontroller will execute your code.
Example: Fixing IR Sensor Fatal Error
Let’s walk through a real example. Suppose you added an IR sensor (like TSOP1738) to your Proteus schematic. When you click “Play,” you get a fatal simulation error.
To fix it, first download a compatible HEX file—many open-source projects include one for common IR sensors. Save it to your project folder. Then, double-click the IR sensor in Proteus.
In the properties window, find “Program File.” Browse to your HEX file and select it. Click OK. Now, run the simulation again. The error should disappear, and the sensor will output signals when you simulate an IR remote.
💡 Tip: Some IR sensor models in Proteus come with built-in simulation logic. If yours doesn’t, switch to a model labeled “SIM” or “Active” in the component picker.
Where to Find HEX Files for Proteus
You can find HEX files from several trusted sources. First, check the official Proteus component library—many include sample HEX files. Second, visit open-source project sites like GitHub or Arduino forums.
For microcontrollers, compile your own code in the Arduino IDE or MPLAB, then export the HEX file. In Arduino IDE, go to File > Preferences and enable “Show verbose output during compilation.” After uploading, the HEX path appears in the log.
Also, educational websites often share HEX files for common sensors (IR, ultrasonic, PIR). Just search “Proteus [sensor name] HEX file.” But always verify the file matches your component model to avoid new errors.
Common Mistakes When Fixing Proteus Errors
One big mistake is using the wrong HEX file. A file for an IR sensor won’t work for an ultrasonic module. So, always match the HEX to your exact component.
Another error is placing the HEX file in the wrong folder. Proteus doesn’t require a specific location—but keeping it in your project folder avoids broken links if you move files later.
Also, some users forget to double-click the component. They assume the HEX loads automatically. But Proteus only uses the file if you manually assign it in the properties window.
Finally, don’t confuse HEX files with library files (.IDX, .LIB). Library files add components to your palette; HEX files give them behavior. You need both for full simulation—but the fatal error usually points to the missing HEX.
How to Prevent Fatal Errors in Future Projects
To avoid fatal simulation errors, plan ahead. Before adding any smart component, ask: “Does this need a HEX file?” If yes, download it first.
Also, use Proteus’s built-in simulated models whenever possible. These often include default logic or clear instructions for HEX loading. Avoid generic symbols from unknown libraries—they may lack simulation support.
Moreover, test one component at a time. Add your microcontroller, load its HEX, and simulate. Then add sensors one by one. This way, you’ll know exactly which part causes an error.
Lastly, keep a “HEX library” folder on your computer. Save all working HEX files there. Next time you use an IR sensor, you won’t need to search again.
Advanced Tips for Proteus Simulation Success
For microcontroller projects, always compile your code to HEX before simulating. In Arduino, use a tool like “Arduino Builder” or “XLoader” to generate clean HEX files without uploading to hardware.
In Proteus, you can also simulate serial output. After loading your microcontroller’s HEX, add a “Virtual Terminal” from the Instruments panel. Connect it to TX/RX pins to see Serial.print() messages—just like the Arduino Serial Monitor.
Furthermore, use the “Debug” menu in Proteus to step through code if your HEX includes debug symbols. This helps you find logic errors without real hardware.
Finally, update Proteus regularly. Newer versions include better component models and fewer compatibility issues with modern HEX files.
Why This Fix Works for All Components
The HEX file solution isn’t just for IR sensors. It applies to any component that needs internal logic. Examples include: Ultrasonic sensors (HC-SR04) RFID readers Custom Arduino or PIC microcontrollers Bluetooth modules with firmware In each case, Proteus treats the HEX file as the component’s “brain.” Without it, the part is just a dumb symbol. With it, the simulation comes alive.
Therefore, whenever you see a fatal simulation error, think: “Missing HEX?” Then follow the same two steps—download and assign. This universal fix saves hours of frustration.
Final Thoughts: Run Proteus Simulations Without Errors
Fatal simulation errors in Proteus 8 look scary—but they’re usually simple to fix. Just provide the missing HEX file, and your circuit will simulate like magic. So, don’t let an error message stop your learning or prototyping.
Now that you know how to fix fatal simulation errors, go back to your project. Load that HEX file, click Play, and watch your virtual electronics come to life. Happy simulating!


Leave a Reply