
Add ESP32 to Proteus Easily & Free – Full Guide
How to Add ESP32 to Proteus Easily and for Free – Complete Step-by-Step Guide
The ESP32 is one of the most popular microcontrollers today.
It supports Wi-Fi and Bluetooth.
It’s powerful, affordable, and perfect for IoT projects.
But what if you want to test your ESP32 circuit before building it?
That’s where Proteus comes in.
Proteus is a trusted simulation tool for electronics design.
Unfortunately, Proteus doesn’t include the ESP32 by default.
You need to add it manually.
The good news? It’s free.
And it’s easier than you think.
This guide shows you exactly how to add ESP32 to Proteus.
No guesswork. No paid tools. Just clear, simple steps.
Why Simulate ESP32 in Proteus?
Simulating saves time.
It also saves money.
You avoid burning real components during testing.
Proteus lets you visualize pin behavior.
You can test LEDs, sensors, and serial output virtually.
It’s ideal for students, hobbyists, and engineers.
Note: Proteus cannot simulate Wi-Fi or Bluetooth.
But it handles GPIO, UART, I2C, and SPI very well.
That covers most beginner and intermediate projects.
So even without wireless simulation, you gain huge value.
You debug logic errors early.
You refine your design before touching hardware.
What You’ll Need
You need Proteus 8 Professional installed.
Any recent version (8.9 to 8.13) works.
You also need a Windows PC.
Proteus doesn’t run natively on macOS or Linux.
Admin rights help—but aren’t always required.
We’ll show you a workaround if needed.
That’s it.
No ESP32 board is needed for this setup.
Step 1: Download the ESP32 Library
First, get the library files.
Use this trusted Google Drive link:
👉 https://drive.google.com/file/d/1ry-BX3rldFrHpVg6UI-t5z0_FfDQh3F5/view
Click “Download.”
Save the ZIP file to your desktop or Downloads folder.
The file is usually named something like ESP32_Proteus_Library.zip.
Keep it handy. You’ll extract it next.
⚠️ Only download from reliable sources.
Fake libraries can crash Proteus or contain malware.
Step 2: Extract the Files
Find the ZIP file you just downloaded.
Right-click it.
Choose “Extract All…”
Pick a simple location—like your desktop.
Click “Extract.”
Now open the new folder.
You should see two key files:
ESP32.LIBESP32.IDX
These files tell Proteus how to display and simulate the ESP32.
Don’t rename them.
Don’t move them yet.
Just keep them ready for the next step.
Step 3: Find Your Proteus Library Folder
This is where many people get stuck.
Proteus stores libraries in one of two places.
Check both of these paths on your C: drive:
Option 1:C:\Program Files (x86)\Labcenter Electronics\Proteus 8 Professional\Library
Option 2:C:\ProgramData\Labcenter Electronics\Proteus 8 Professional\Library
Note: ProgramData is hidden by default.
To see it, open File Explorer.
Go to View > Show > Hidden items.
Still unsure which folder to use?
Open Proteus.
Go to System > Set Paths.
Look for the “Library” path listed there.
That’s your target folder.
Step 4: Paste the ESP32 Files
Now copy the two files (ESP32.LIB and ESP32.IDX).
Paste them directly into the Proteus Library folder.
Do not put them in a subfolder.
They must sit right inside the Library directory.
If Windows blocks the paste:
- Close Proteus completely.
- Right-click File Explorer > “Run as administrator.”
- Try pasting again.
Or use the ProgramData path—it often doesn’t need admin rights.
Once pasted, restart Proteus.
This refreshes its component database.
Verify It Worked
Open Proteus.
Click the “P” button (Pick from Libraries).
In the keyword box, type “ESP32”.
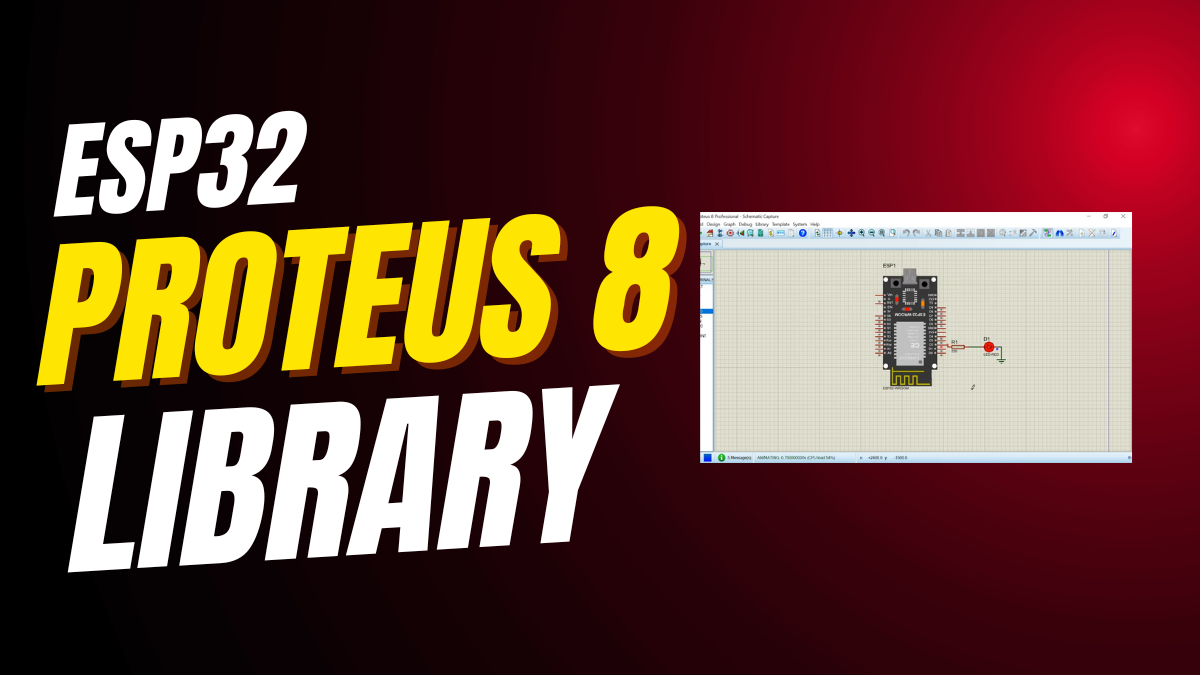
If you see an entry like “ESP32” or “ESP32 Dev Module,” you succeeded!
Drag it onto your workspace.
Connect an LED to GPIO 2.
Add a resistor.
Run a quick simulation.
If the LED blinks (or responds to logic), everything works.
🎉 You’ve just added ESP32 to Proteus—for free.
Troubleshooting Tips
Problem: ESP32 doesn’t show up in search.
Fix: You likely pasted into the wrong folder.
Try the other path. Or paste into both.
Problem: “Access denied” error.
Fix: Close Proteus first.
Then paste as administrator.
Problem: Simulation crashes.
Fix: Your library might be outdated.
Look for a version matching your Proteus release.
Problem: No Wi-Fi simulation.
Reality: Proteus can’t simulate wireless protocols.
Focus on digital I/O, sensors, and basic communication.
What You Can (and Can’t) Simulate
✅ Works well:
- Digital pins (HIGH/LOW)
- LED blinking
- Button inputs
- UART serial output (via VIRTUAL TERMINAL)
- I2C sensors (like OLED or BME280)
- SPI communication
❌ Does NOT work:
- Wi-Fi connectivity
- Bluetooth pairing
- Over-the-air (OTA) updates
- Real-time FreeRTOS tasks
- Deep sleep current measurements
Use simulation for logic validation.
Use real hardware for wireless testing.
Recommended Starter Gear (Optional)
Once you’re ready to build:
- ELEGOO ESP32 DevKit – Affordable and widely supported.
- 37-in-1 Sensor Kit – Great for testing I2C/SPI in real life.
- CH340 USB-to-Serial Module – Helps flash code if your board lacks USB.
- Breadboard jumper wires – Essential for quick prototyping.
You don’t need these for simulation.
But they help when you move to physical builds.
Why This Method is Safe
You’re only adding two small files.
No registry changes.
No system modifications.
If something goes wrong, just delete the files.
Proteus will revert to its original state.
This is a standard practice in the electronics community.
Thousands use it daily.
Final Checklist
✅ Downloaded the ESP32 library ZIP
✅ Extracted ESP32.LIB and ESP32.IDX
✅ Found the correct Proteus Library folder
✅ Pasted files directly into that folder
✅ Restarted Proteus
✅ Searched for “ESP32” and found it
If all boxes are ticked—you’re ready to simulate.
Start Building Smarter
Now you can design ESP32 circuits with confidence.
Test logic before wiring.
Catch errors early.
Save components, time, and frustration.
Whether you’re making a weather station, smart switch, or robot controller—Proteus + ESP32 gives you a powerful sandbox.
And the best part?
It cost you nothing.
So go ahead.
Open Proteus.
Drag in your ESP32.
And bring your next idea to life—virtually first.
Frequently Asked Questions
Q: Does this work on Proteus 8.13?
A: Yes, if the library is compatible. Most free libraries support 8.9–8.13.
Q: Can I simulate ESP32-CAM?
A: Not with standard libraries. Stick to the basic ESP32 DevKit model.
Q: Do I need a HEX file?
A: ESP32 uses .BIN files, not .HEX. Proteus simulates pin behavior—not code execution.
Q: Is there a Mac version?
A: No. Proteus is Windows-only. Use a VM or dual-boot if needed.
Conclusion
Adding the ESP32 to Proteus takes less than 5 minutes.
It’s free.
It’s safe.
And it dramatically improves your workflow.
Follow the four steps.
Verify the component appears.
Start simulating.
You’ve just unlocked a smarter way to build IoT projects.
Happy designing!
Learn how to build an Arduino Calculator
Follow this guide to add the ESP32 library to Proteus so you can simulate ESP32 circuits for free without needing the physical board.
-
Download the ESP32 Proteus Library
Open the download link and save the ZIP file named “ESP32_Proteus_Library.zip” to your computer. Make sure you download from a trusted source to avoid corrupted files.
-
Extract the ZIP File
Right-click the downloaded ZIP file and choose “Extract All.” Extract it to an easy location like your Desktop. You should now see two files: ESP32.LIB and ESP32.IDX.
-
Locate the Proteus Library Folder
Go to the Proteus Library directory on your PC. It will be in either Program Files (x86) or ProgramData. If you cannot find it, open Proteus and check System → Set Paths to confirm the exact library folder location.
-
Copy the ESP32 Library Files
Copy ESP32.LIB and ESP32.IDX and paste them directly into the Proteus Library folder. If Windows blocks the action, run File Explorer as administrator and try again.
-
Restart Proteus and Verify
Close Proteus completely and reopen it. Click the “P” component picker and search for “ESP32”. If it appears in the list, the installation was successful.
If you’re working on ESP32 simulations, you may find this ESP32 Proteus tutorial useful for setting up and testing your circuits virtually. Also, if you’ve ever struggled to locate the missing library folders in Proteus, this guide on how to find the Proteus library folder easily will save you time. For those comparing microcontroller boards, check out this detailed breakdown of the differences between Arduino and Elegoo: Which one to buy in 2025. And if you’re still deciding which model fits your project needs best, this comparison guide on the right Arduino-compatible board offers a simple explanation to help you choose confidently.


Leave a Reply